
§ How-To
How to Build a Clean, Efficient Tool Wall
Walk through planning a wall-mounted storage layout for drills, drivers, and batteries using holders and docks. Cover spacing, screw placement, access zones, and how to keep frequently used tools within easy reach.
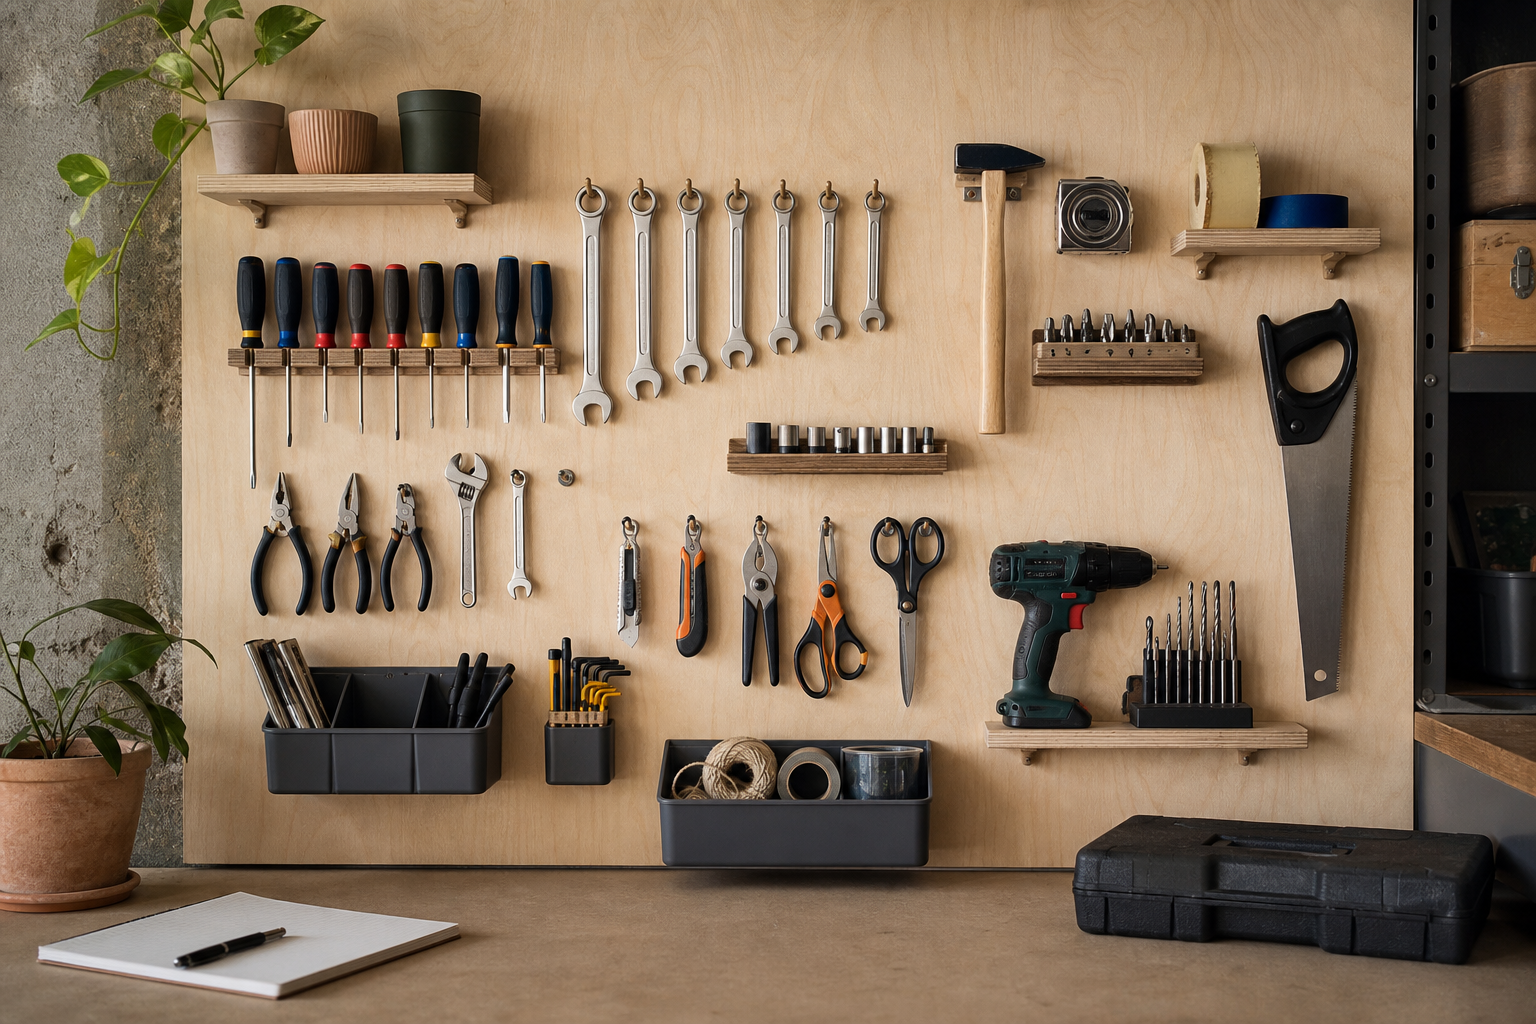
A clean tool wall does more than look tidy. It cuts wasted motion, protects batteries and chargers from getting knocked around, and makes it obvious when something is missing before a job starts. For drills, impact drivers, batteries, and chargers, the best wall setup is simple: strong backing, predictable spacing, and a layout built around how you actually grab and return tools. If you plan the wall before driving screws, you’ll end up with storage that works every day instead of becoming another clutter trap.
Start With the Wall, Not the Holders
Before laying out any docks or holders, check what you’re mounting to. Drywall alone is not enough for a full cordless setup, especially once batteries, chargers, and multiple tools are hanging in one area. The most reliable approach is a sheet of plywood fixed solidly to studs. A 12-18mm plywood backer gives you freedom to move holders later without hunting for studs every time.
A practical setup process looks like this:
- Locate and mark all studs across the wall section.
- Mount plywood wide enough for future expansion, not just today’s tools.
- Use screws long enough to get solid bite into framing.
- Keep the bottom edge of the board high enough to allow bench space, bins, or a small cabinet underneath if needed.
If you’re working in a garage or shed, think about dust and moisture as well. Keep chargers and battery docks off exterior walls that sweat in winter, and away from areas where garden gear, fuel, or washdown water can reach them.
A good rule is to dedicate one wall zone strictly to cordless tool storage and charging. Mixing it with hand tools, trimmer line, and loose hardware usually leads to crowding and tangled cords.
Plan the Layout by Use Frequency
The biggest mistake on a tool wall is arranging tools by appearance instead of workflow. Put the most-used tools in the easiest access zone: roughly chest to waist height, centered in front of where you naturally stand. That’s where your daily drill, impact driver, and 1-2 active batteries should live.
Break the wall into zones:
- Primary access zone: everyday drill, impact driver, most-used batteries
- Secondary zone: spare batteries, less-used drivers, specialty tools
- Upper zone: backup chargers, seldom-used tools, empty cases
- Lower zone: heavier items if they are still easy to lift safely
For most users, drills and drivers should hang with enough clearance to grip the handle without bumping the next tool. A useful spacing target is:
- 90-120mm between tool holders for compact tools
- 120-150mm if tools have belt clips, larger battery packs, or bulky chucks
Don’t just measure tool body width. Include your hand. If your knuckles scrape the next drill every time you grab one, the layout is too tight.
Battery docks should be grouped near the tools they serve, but not jammed directly underneath where a dropped tool could hit them. Chargers need extra room for ventilation and cable routing. Leave visible air space around charging units, especially if they run warm during use.
Get Screw Placement and Mounting Right
Tool holders and battery docks only work well if they stay rigid. Sloppy mounting causes tools to tilt, bind, or fall out over time. Always use the mounting pattern recommended for the holder, and avoid relying on a single center screw unless the part is specifically designed for it.
A few workshop-tested mounting tips:
- Pre-mark all holes with the holder in position before drilling.
- Use a level across rows so tools sit square and look organized.
- For plastic holders, avoid overtightening screws and distorting the base.
- If mounting to plywood, use quality wood screws with washers where needed.
- Test one holder with the actual tool weight before installing the full row.
For side-by-side docks, keep screw lines consistent. A clean grid makes future changes easier and helps avoid weak, random hole patterns in the board.
Cable management matters too. Chargers with dangling leads quickly make a neat wall look messy. Route cords along one side or behind a shelf, and secure slack with clips. If you use multiple chargers, mount them with enough separation to insert and remove batteries without twisting cords around neighboring units.
A small shelf above or below the charging area is useful for bits, fasteners, and the odd tool that doesn’t belong in a dedicated holder. Just don’t let it become a dumping ground.
Build for Fast Access and Easy Reset
The best tool wall is one that resets itself through habit. Every item should have one obvious home, and you should be able to return it one-handed. If you have to angle a drill just right or remove a battery to make it fit, the storage is working against you.
To keep the wall efficient:
- Store tools in their ready-to-use state when possible.
- Keep charged batteries separate from flat ones, or dedicate left/right dock rows.
- Leave one open space for the tool currently in use if you rotate through a set.
- Place bit holders, driver bits, and frequently used accessories close to the drill zone.
Think about reach path as well. If your main bench is to the left, place your most-used drill and driver slightly left of center. If you usually enter from a roller door on the right, keep grab-and-go tools on that side. Small adjustments like this save steps over hundreds of uses.
Labelling helps more than many people expect, especially in shared garages or work vehicles. A simple label under battery docks or charger positions makes it easier to maintain order. It also helps if you run multiple cordless platforms and want to avoid mixing the wrong batteries and chargers.
Finally, leave expansion room. Most setups grow. An extra two or three tool positions and a few battery slots now will save rebuilding the whole wall later.
FAQ
How high should I mount drill and driver holders?
For most people, the ideal height is around waist to chest level, where you can grab the handle naturally without reaching overhead or bending. Heavier or frequently used tools should stay in this zone.
How much space should I leave between battery docks?
Leave enough room to remove each battery cleanly without your fingers hitting the next pack. In practice, that usually means at least 25-40mm between docks, and more for larger high-capacity batteries.
Can I mount holders straight to drywall?
It’s not the best option for a full cordless setup. A plywood backer fixed to studs is far stronger, easier to rearrange, and more reliable long term, especially for loaded tool holders, battery docks, and chargers.
Find the right part on Amazon
Check price, stock and fitment — ships direct from Amazon.
§ Catalog
Shop the catalog


